In its default setup, Cloudflare will only cache static assets such as images, CSS and Javascript files - files which don't change very often. However, it is also possible for it to cache HTML files which can take a huge load off your server.
As good as this sounds, it can cause some issues. For example, imagine you have a blog at www.example.com/blog. This page is the index of your blog and lists all of your latest articles. If this page is cached by Cloudflare and you publish a new article, you may be surprised to see that it doesn't appear in the index.
This is because Cloudflare is serving a cached copy of the page and the request isn't event touching your server.
Of course, you can manually login to Cloudflare and purge the cache - either entirely or on a URL by URL basis, but wouldn't it be nice to do this without thinking about it.
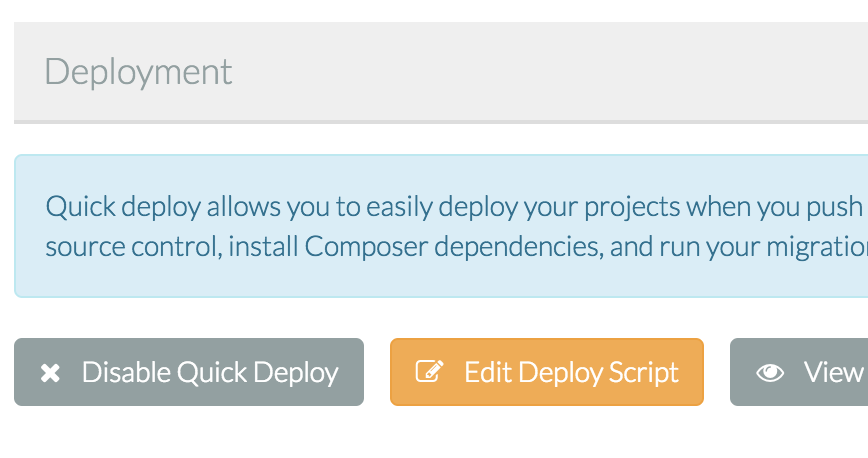
Luckily, if you are using Laravel Forge, you can easily make this part of your deployment.
To start, you need to figure out which Cloudflare zone your domain lives in. To do this, we can use the Cloudflare API and in particular, the list zones method.
From the command line of your machine, run the following command.
Note: You'll need to replace the auth email and key with your Cloudflare email and key which can be found in your control panel.
1curl -X GET "https://api.cloudflare.com/client/v4/zones?name=***your-domain-here***&status=active&page=1&per_page=20&order=status&direction=desc&match=all" \2 -H "X-Auth-Email: ***your-email-here***" \3 -H "X-Auth-Key: ***your-auth-key-here***" \4 -H "Content-Type: application/json"From the result, look for the id parameter.
1{ 2 "success": true, 3 "errors": [], 4 "messages": [], 5 "result": [ 6 { 7 "id": "023e105f4ecef8ad9ca31a8372d0c353", 8 ... 9 }10 ...11}Now, finally, you need to use either the Purge all files method if you want to clear the entire cache or the Purge individual files by URL and Cache-Tags method if you want to specify which files to purge from the cache.
From Laravel Forge, navigate to your site and click 'Edit Deploy Script' and paste either of the following at the bottom of the script.
Note: You'll need to replace the zone ID with that gathered from the request above and the auth email and key with your Cloudflare email and key which can be found in your control panel.
All Files
1curl -X DELETE "https://api.cloudflare.com/client/v4/zones/***your-zone-id-here***/purge_cache" \2 -H "X-Auth-Email: ***your-email-here***" \3 -H "X-Auth-Key: ***your-auth-key-here***" \4 -H "Content-Type: application/json" \5 --data '{"purge_everything":true}'Individual Files
1curl -X DELETE "https://api.cloudflare.com/client/v4/zones/***your-zone-id-here***/purge_cache" \2 -H "X-Auth-Email: ***your-email-here***" \3 -H "X-Auth-Key: ***your-auth-key-here***" \4 -H "Content-Type: application/json" \5 --data '{"files":["http://www.example.com/blog", "http://www.example.com/another-file"]}'Note: In the data parameter, you may include an array of all files you wish to purge.
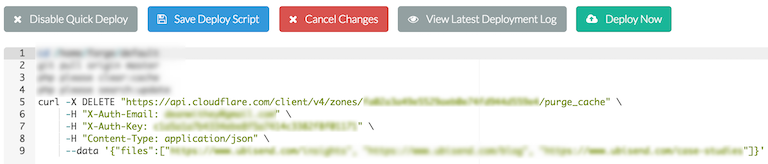
Once you hit 'Save Deploy Script', the next time you deploy or Forge's auto-deployment is triggered, your Cloudflare purge will automagically purged.