Recently, I've been trialling Amazon's Elastic Beanstalk to see if it is a good fit for ubisend.
After an hour or so of configuring the web environment, I had a version of our app up and running and started to test to make sure everything was working as expected.
The first issue I ran into was as a result of a number of our third-party services requiring a secure webhook to post back to. Off the shelf, Elastic Beanstalk supplies you with a non-https subdomain in the format my-environment-name.eu-west-1.elasticbeanstalk.com.
Obviously, I would need to install an SSL certificate to continue this test. After consulting the Amazon docs, I discovered it was possible to self-sign an SSL certificate and upload directly to Amazon Certificate Manager for use in Elastic Beanstalk. Primarily because I knew I'd forget after a couple of nights sleep, but also because I thought some other might find it useful, I decided to make note of the process.
Note: This was all carried out on a Macbook Pro.
Firstly, you'll need to check that you have OpenSSL is installed. Open up your terminal and run:
openssl version
Hopefully, you'll see something like this

If not, you should be able to install it with Homebrew
Next you can generate a private key by running:
openssl genrsa 2048 > privatekey.pem
Now use the private key to generate a certificate signing request:
openssl req -new -key privatekey.pem -out csr.pem
You'll be asked to provide your address and company name and then the common name. Here, you need to enter the subdomain provided by Amazon for your environment. You can find this on the Elastic Beanstalk environment overview. It will be in the format my-environment-name.eu-west-1.elasticbeanstalk.com.
At this stage, you would usually supply the CSR to a trusted authority for signing, but in this instance, you are going to sign the certificate yourself by running the following command:
openssl x509 -req -days 365 -in csr.pem -signkey privatekey.pem -out server.crt
Now you have the certificate created and signed, it's time to upload it to Amazon. Login to your AWS account and select Certificate Manager followed by Import a certificate.
You will be greeted by the following screen
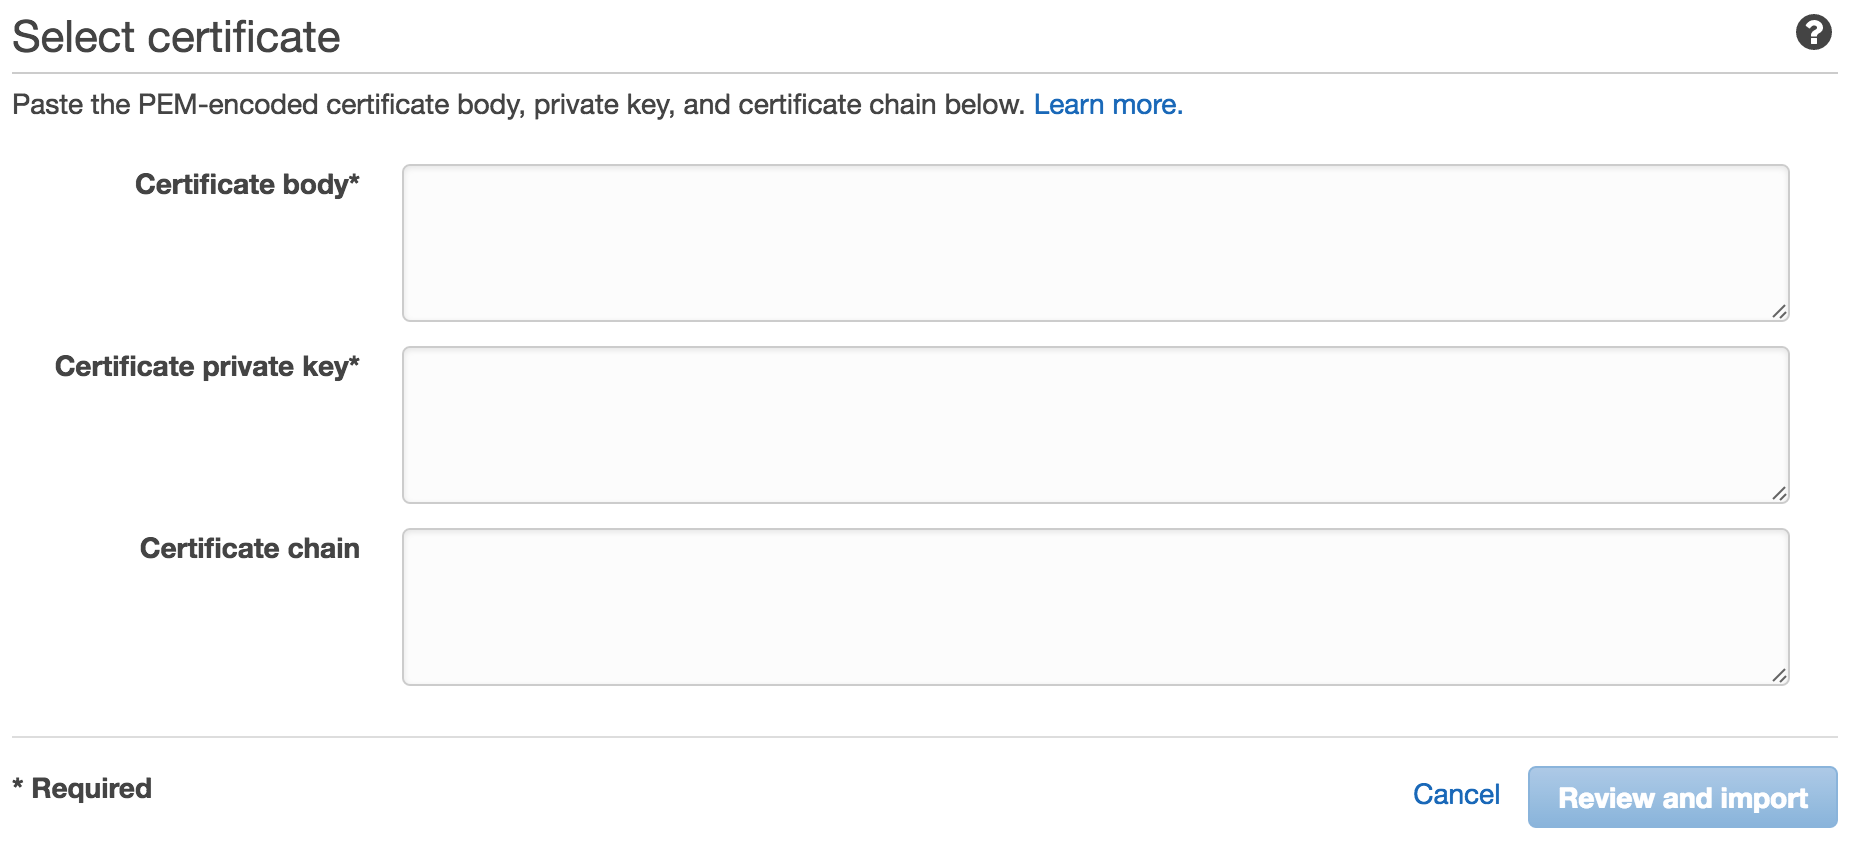
Run the command pbcopy < server.crt and paste into the Certificate body field and then pbcopy < privatekey.pem and paste the result into the Certificate private key field. Click Review and import and follow the instructions.
Now finally, you need to terminate the SSL certificate on the load balancer in your web server environment.
Enter the web server environment where you would like to install the certificate. Now click on configuration followed by the gear icon next to the load balancing section.
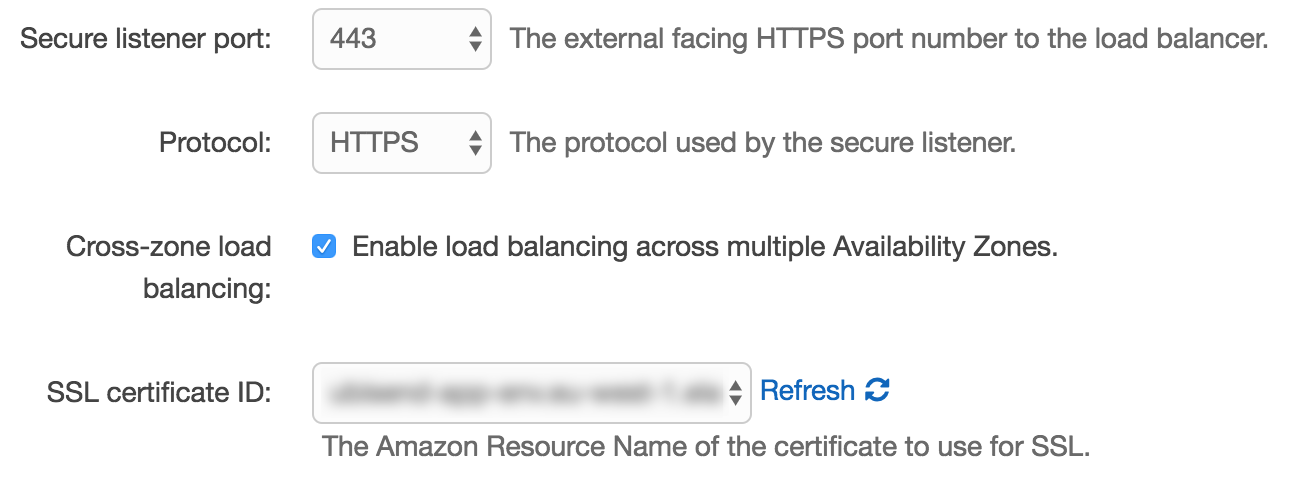
On the next screen, select port 443 from the 'Secure listener port' dropdown and select your newly uploaded certificate from the 'SSL certificate ID dropdown. Finally, click apply. Now wait for your environment to update.
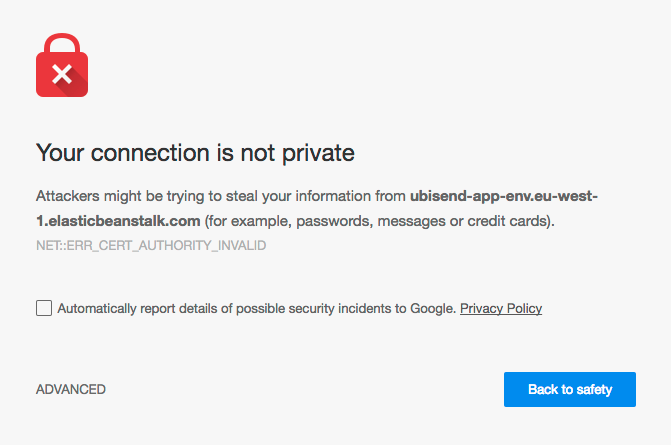
Now that the certificate is installed, all that remains is to browse to the URL and see if it works. You should be greeted by the an image similar to below. This is because the certificate is not signed by an authority trusted by your browser. To get around this, simply click on 'Advanced' and choose to proceed to the URL. All being well, you should now be able to access your URL over SSL.